

Advantages and Disadvantages of Android Development
Android app development opens up major opportunities for businesses and gives teams the freedom to turn ideas into real products. But like any area of development, it comes with both advantages and challenges.
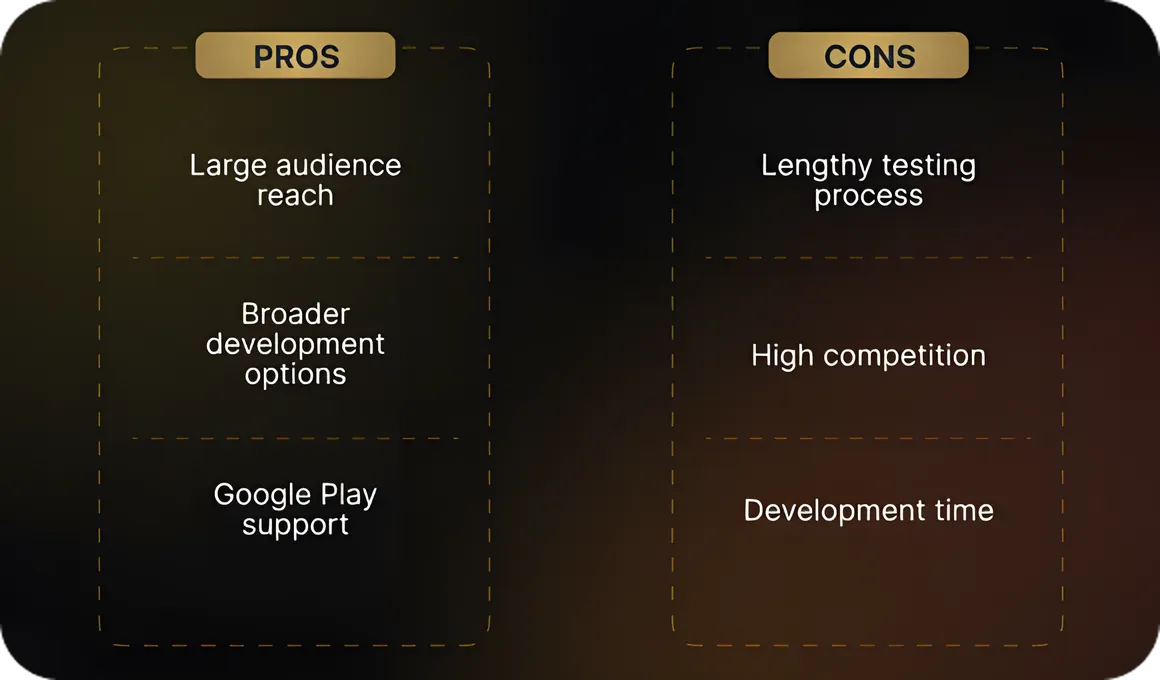
Advantages
Access to a large audience.
Android is the world’s most widely used mobile operating system, which gives businesses the opportunity to reach millions of users. Whether you are building a utility app or an engaging mobile game, there is a market for it.
More flexibility in development.
Thanks to Android’s open architecture, developers can build products with unique functionality, add custom components and integrations, and bring almost any idea to life.
Support from Google Play.
Google Play makes it relatively easy to launch an app and provides developers with powerful tools for distribution and management. You can roll out updates, communicate with users, and continuously improve the product.
Disadvantages
Longer testing cycles.
Android devices vary widely in system versions, screen sizes, and technical specifications. To make sure the app performs well, it needs to be tested across many different devices.
High competition.
Google Play is crowded with apps, so standing out among similar products is not easy. Unique features and a strong marketing strategy are essential.
Longer development time.
Because of the wide variety of Android devices, developers have to account for many edge cases, which can increase the overall timeline of the project.
Key Aspects of the Development Process
Android provides developers with a dedicated environment for app creation — Android Studio, built by Google specifically for this platform. It is a powerful tool that includes many features designed to make development easier. Some of the most useful include:
- Code editor: helps developers write clean, readable code with syntax highlighting and autocomplete.
- Emulators: allow apps to run on virtual devices with different Android versions, which is especially useful when real devices are not available.
- Debugging tools: everything needed to identify and fix issues, including Logcat logging, performance analysis, and memory monitoring.
- Visual layout editor: makes screen creation more intuitive with drag-and-drop interface design.
- Version control support: built-in integration with Git, SVN, and other systems directly inside Android Studio.
- Build automation: Gradle handles dependencies and project configuration, which speeds up the development process.
Before building an Android app, it is important to understand several platform-specific factors that need to be considered.
Device diversity.
Android runs on everything from compact smartphones to large tablets. Screens, resolutions, and hardware specs vary significantly. The app needs to look and perform well across all of them.
OS fragmentation.
Not all users update their devices to the latest Android version. Developers need to decide which versions to support in order to reach as many users as possible.
Integration with Google Play Services.
Google Play Services makes it possible to add features such as geolocation, push notifications, and Google account sign-in. It does take time to configure, but the result is worth it.
Hardware diversity.
Devices come with different hardware capabilities: cameras, sensors, and connectivity modules. The app needs to adapt to these variations so everything works smoothly.
Security and privacy.
Users care deeply about the safety of their data. That is why it is important not only to build useful features, but also to make sure information is stored securely and that the app complies with privacy standards.
Performance optimization.
No one likes an app that freezes or loads slowly. Optimization helps make the product fast, efficient, and pleasant to use, even on lower-end devices.

If all of these aspects are taken into account, you can build an Android app that stands out to users and has strong market potential.
Native or Cross-Platform Development: Which Path Should You Choose?
If you are trying to figure out how to build your own Android app, you will likely face one of the most common questions in mobile development: should you choose native or cross-platform development? To make that decision easier, let’s look at both approaches.
Native development
Native apps are built using tools created specifically for a particular platform — in this case, Android.
Java is the classic language of Android development. It has been used since the early days of the platform and has a large developer community. While Java is stable and reliable, even simple features can sometimes require more code than newer languages.
Why choose Java?
- Stability
- A huge number of libraries and existing solutions
- Easy access to learning resources and ready-made examples
Kotlin is the official language for Android app development. It allows developers to write concise, readable code and works well for both beginners and experienced engineers. If you are just starting out, Kotlin is an excellent choice.
Why choose Kotlin?
- Concise and readable code
- Full interoperability with Java
- Built-in support for asynchronous programming
C++ is used for building high-performance products such as games or complex graphics-heavy applications. Because of the language’s complexity, it is not the right choice for every project.
Why choose C++?
- High performance
- Suitable for resource-intensive apps and games

Cross-Platform Solutions
With cross-platform frameworks, you can build one app that runs on both Android and iOS. This is a great option if you want to cover both platforms at once while saving time and budget compared to developing two separate products.
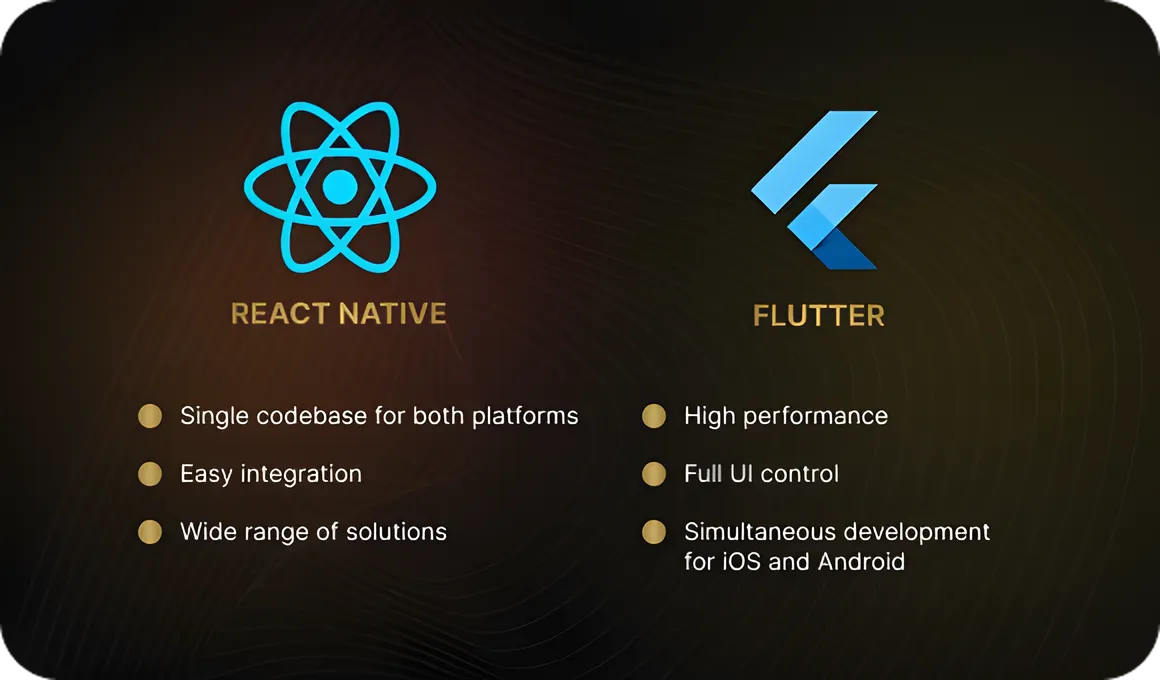
Flutter is a framework from Google that uses the Dart language. It helps teams create highly performant and visually impressive products. One of Flutter’s features is that it does not rely on native UI components — instead, it renders everything itself, giving developers full control over design and animation.
Why choose Flutter?
- High performance thanks to its own rendering engine
- Full control over interface design and animations
- Simultaneous development for Android and iOS
React Native is a framework from Facebook that lets developers build mobile apps with JavaScript. It is especially well suited for service-based apps and has become popular because of its broad ecosystem, community support, and ready-made libraries.
Why choose React Native?
- One codebase for two platforms
- Integration with web technologies
- Strong community and mature tooling
Advantages of cross-platform development
Time and cost savings.
With a cross-platform framework, one product can replace two separate native versions. Development is faster and less expensive, which is especially beneficial for startups and smaller projects.
Simpler maintenance.
Cross-platform apps are easier to maintain. Updates and bug fixes can be applied to both platforms at the same time.
Faster MVP launch.
If you want to test an idea quickly, cross-platform tools are a strong choice for building an MVP. You can launch on Android and iOS simultaneously and start collecting user feedback right away.
Steps to Building an Android App
Now let’s break down how to create your own Android app and what you need to keep in mind on the way from idea to finished product. To build a great app, each step matters.
1. Idea evaluation and discovery phase
At the very beginning, think about the problem your app is solving. Study user needs, analyze what already exists on the market, and define how your product will be better than competing solutions. At this stage, it is important to clearly set your goals, define the core features, and outline the development plan.
2. UX/UI design
Once the idea is clear, it is time to move on to design. Create wireframes and interfaces, paying close attention to how users will interact with the product. The goal is to build an attractive and intuitive experience. Think through every screen, button, and animation so the app looks and works well on all devices.
3. Development
This is where the app starts to come to life. Developers write the code in Java or Kotlin if the project is native. If you choose a cross-platform framework, Flutter is often an excellent option. At this stage, the team builds the core features, components, and integrations with external services.
4. Testing and bug fixing
Once the code is written, testing begins. The app is checked across devices and Android versions. QA engineers look for bugs, performance issues, and compatibility problems. When issues are found, developers fix them so the app runs smoothly.
5. App store release and promotion
When the app is ready, it is time to publish it on Google Play. Prepare a clear description, add screenshots, and choose relevant keywords so users can easily find the product. It is also important to think through a marketing strategy that will help attract attention and drive downloads.
6. App growth and support
Work on the app does not end after release. Monitor user feedback, update the app regularly, add new features, improve the interface, and fix bugs. Ongoing updates help keep users engaged.
Publishing on Google Play
So, is your app ready for release on Google Play? Great. The process is not overly complicated, but it does require attention to detail. Here is a step-by-step checklist for a successful launch.
1. Register in Google Play Console
The first step is to sign up for Google Play Console. Create a developer account and pay the one-time $25 registration fee. After that, you get access to the tools needed to manage and publish apps.
2. Upload the APK file
Next, upload your finished APK file — the file users will install on their devices. Make sure it is error-free and does not have security issues. Google Play will also run its own checks for stability.
3. Test the app
Before release, test the app thoroughly and make sure it works properly across devices. In Google Play Console, you can also preview how the product will appear on different screens.
4. Prepare the description and media assets
Write the app description. Explain what the product does and what benefits it offers. Add screenshots and videos to show how it looks and works in practice. The description should also be optimized for ASO so the app appears more often in search results and user acquisition becomes more cost-effective.
5. Fill in the core settings
Enter the main app details: category, pricing model, and required permissions, such as camera or geolocation access. This helps users understand how the app works.
6. Choose a monetization model
Decide whether the app will be paid or free. If it is paid, set the price. If it is free, you can monetize it through ads, in-app purchases, or a freemium model, where core features are available for free and advanced functionality is unlocked through payment. This approach helps you earn revenue from free downloads while giving users more flexibility.
7. Publish the app
Once all the information is entered and the preparation steps are complete, the app must first go through closed testingin Google Play Console. This is mandatory for accounts created after November 13, 2023. Over a two-week period, the app must be tested by at least 20 people, so Google can verify that it works as expected.
After that, you can submit the app for final review. If everything is in order, it will become available to users worldwide. Moderation usually takes a few days, so all that is left is to wait a little — your product will soon go live.

Conclusion
This process is what turns an idea into a working product. If you move step by step — from development and testing to publishing on Google Play — you can create a functional and compelling app. Good luck!
Technology changes fast, but we know how to turn your idea into a great and in-demand app.
At Beetrail, we handle everything: from the first design sketches to store publication and ongoing support. You do not need to understand the code — just tell us what you want to build, and we will help bring it to life.
Take a look at our projects and leave a request — we would be happy to discuss your idea.
Beetrail — developing with care for your success.